Are you a visual leaRNER?
Don’t worry - we are too.
Check out the video below to learn how to install your CLIX
Full CLix INSTALLATION
THE CLIX PROJECT
THE CLIX PROJECT
Step 1:
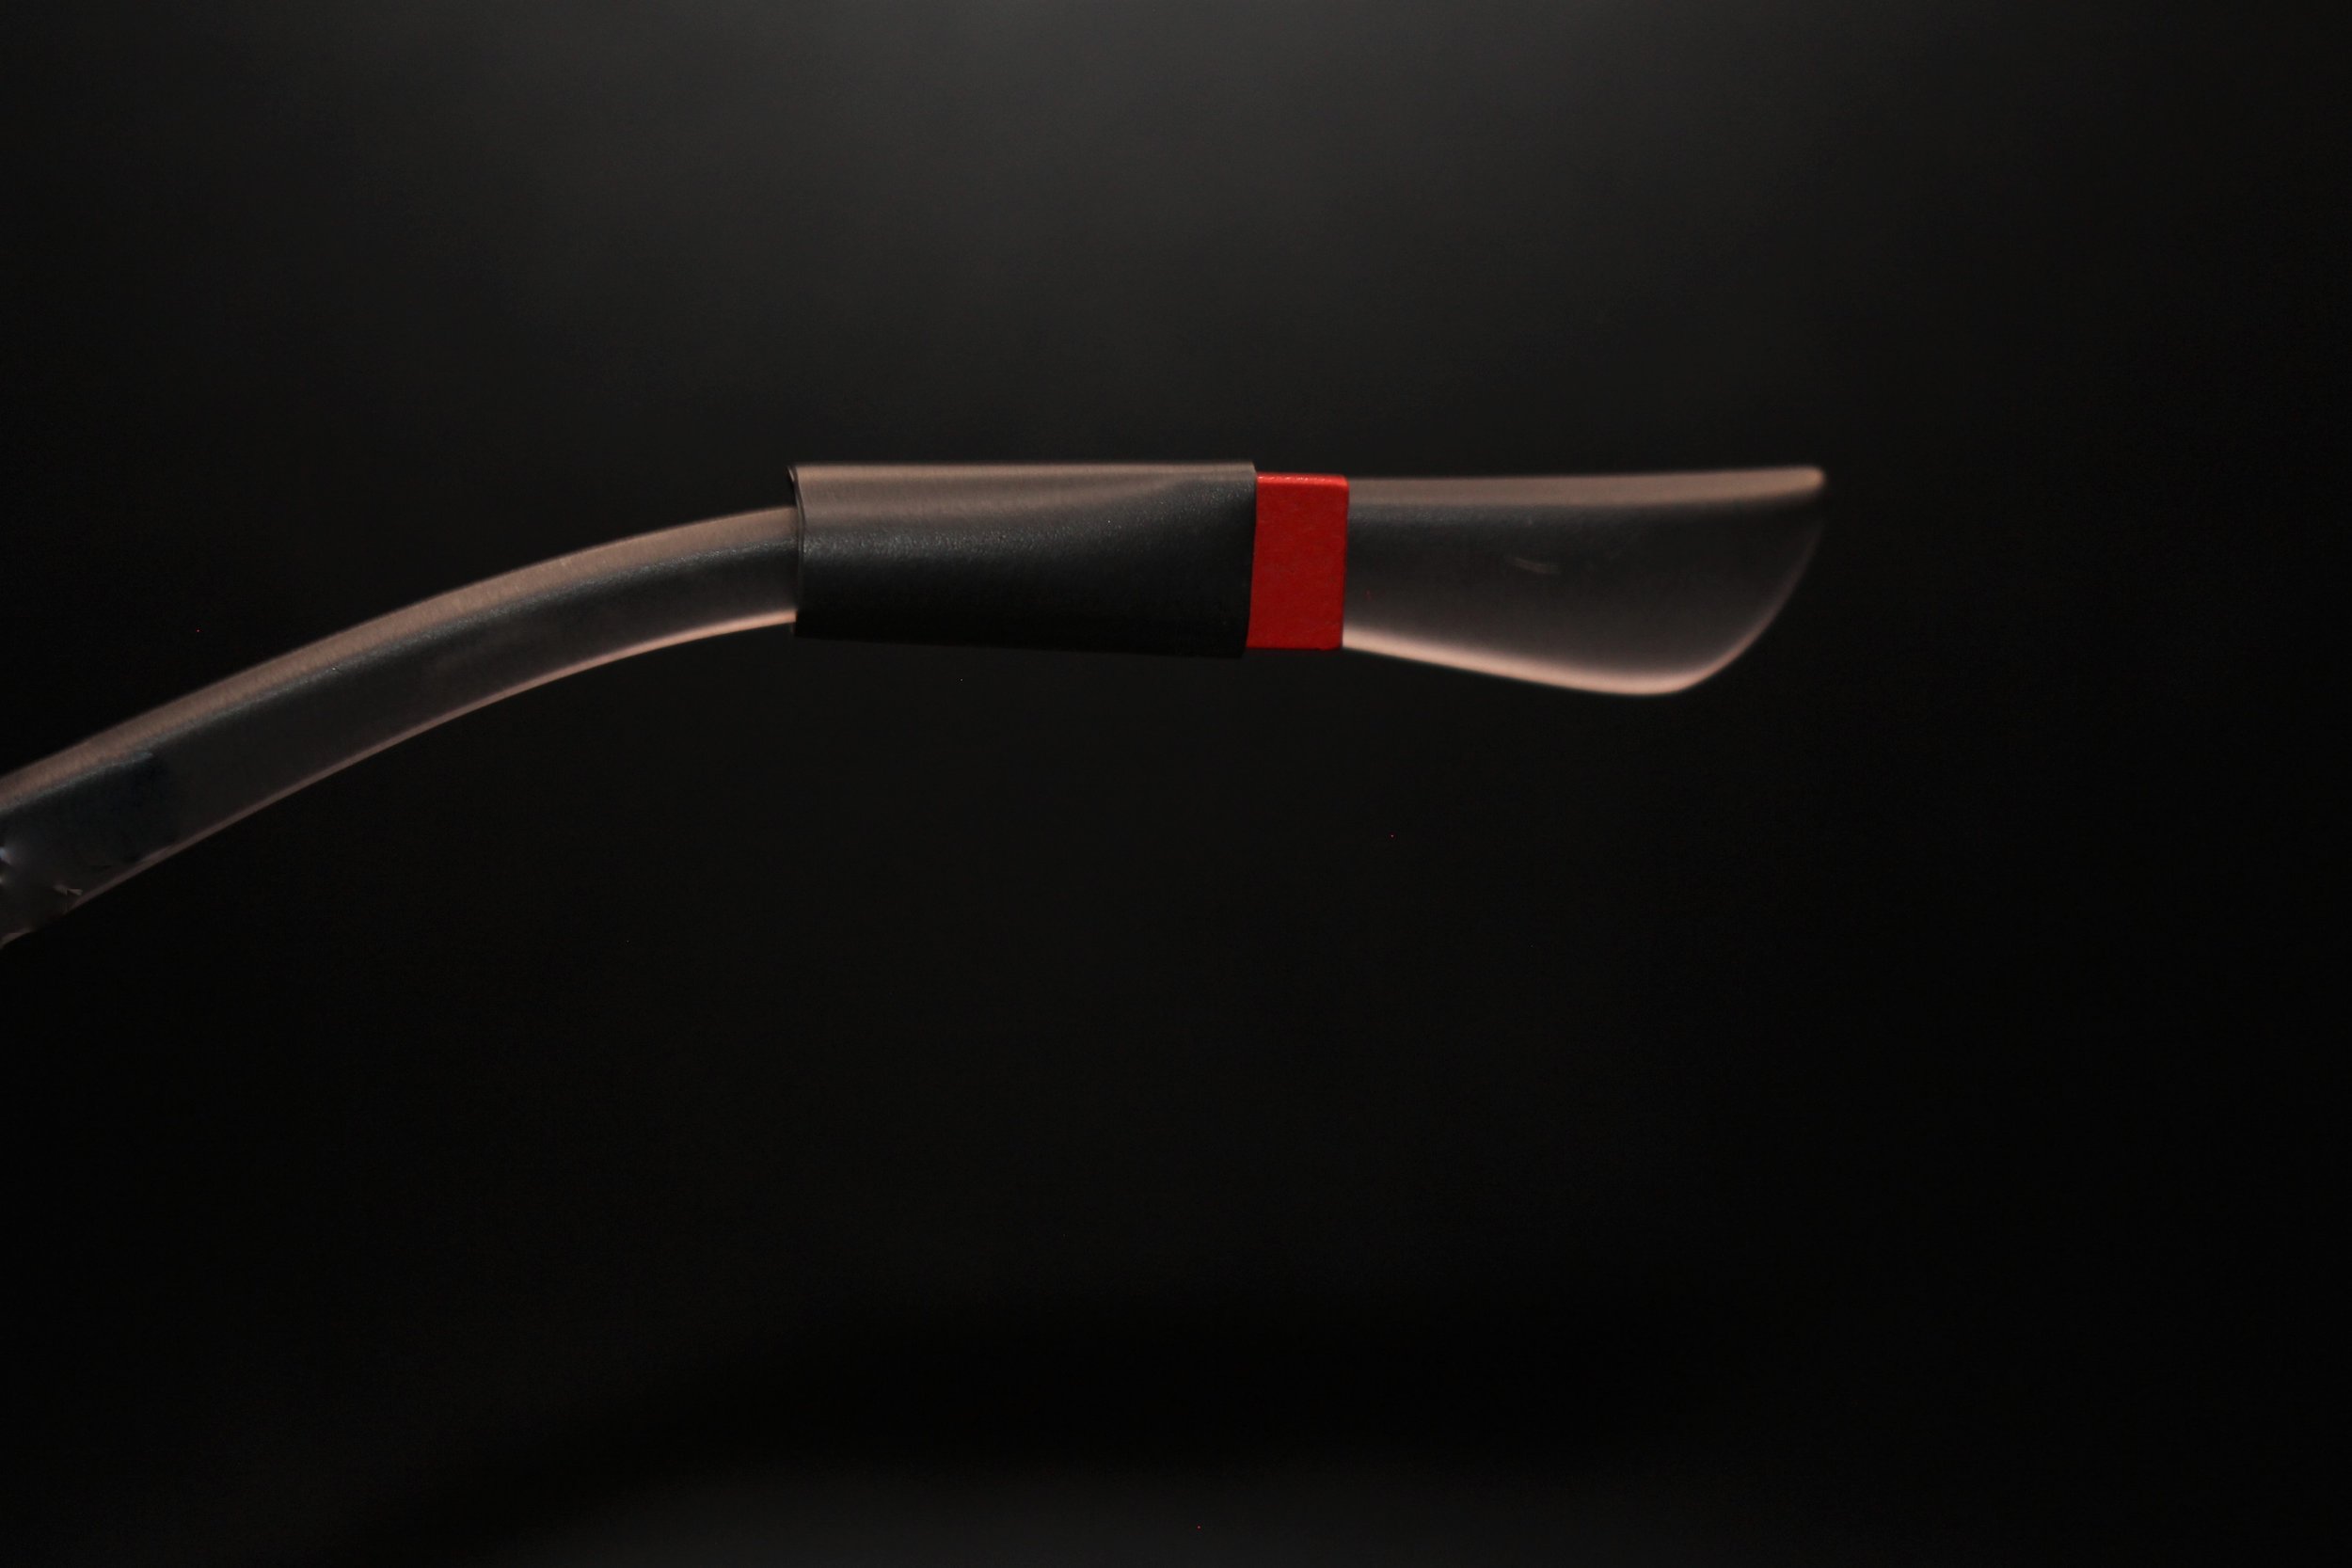
sLIDE sleeves On TO THE ARMS
Tip: Soap and water can help with sliding the sleeve on.
Step 2:
INsert squared magnet inside of sleeve
NEW MODEL HAS 3M TAPE (no more red) - Remove brown 3M tape & apply sticky side onto the arm of the glasses.
Step 3:
set sleeves in place
Tip: Stop applying heat once you can see the square outline forming. You will be able to apply more heat for a better fit once you make “final adjustments”
Step 4:
apply heat
Tip: The ideal spot for the sleeves will be where ever the sweatband on the inside of the hat is. Sleeves should also mirror each other.
Step 5:
INSERT ANCHORS IN HATS’ SWEATBAND
Tip: Setting sunglasses on top of hat will help with positioning the anchors. Anchors will almost set themselves in place because of the magnetic attraction.
Step 6:
INSTALL NAILS
Tip: Use the anchors’ hollow center as the target landing spot. Pinching the anchor and sweatband together will allow more force to be used when puncturing the sweatband’s material with the nail.
Step 7:
INSTALL STOPPERS
Tip: The nail DOES NOT need to poke the other end.
Step 8: FINAL ADJUSTMENTS and test
Tip: Apply more heat to the sleeves once the sunglasses are clicking into the final preferred resting place.


